When I pick a project, I try to layout some objectives or goals for the build. For this one the kit is relatively simple and tried and true.. the kit builds well, though the angles are off on sides of the hull. Therefore my focus is on working with the P/E and adding a few details and then the paint and weathering. As I am just restarting armor again the pratice on the etch will be good to get back up to speed on. I will also probably add a figure to this and put it on a simple base as well. The only other promenate feature missing is the weld seam around the turret, though on the plus side by adding that the seam where the turret halves join will be taken care of
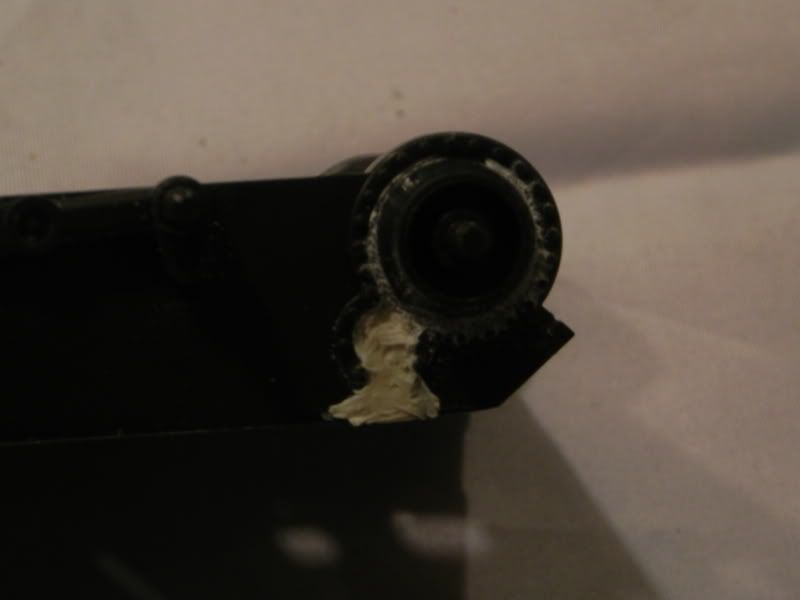
So then, work started with fixing one of the shortcommings of the kit, the slots on the lower hull where the motor axel is suppose to go. This was filled with styrene and then putty. After it sets up a bit I will sand it out and see if it needs more filler. Once filled and smoothed out I will add detail to the filled area to match what is molded to the hull.
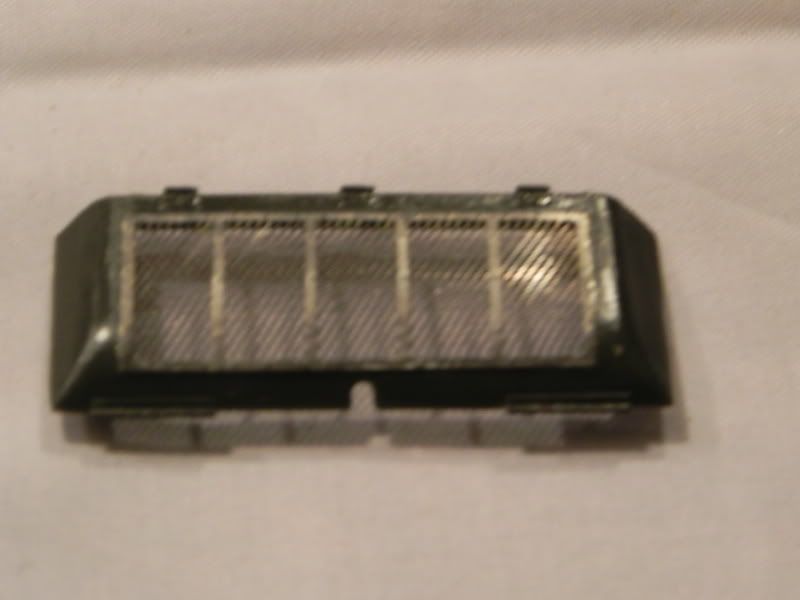
I also decided to jump into the etch by replaceing the engine cover screen. I had to first remove the molded on screen, for this I used my dremel tool to remove most of the material and then filed the edges true. The etch for this comes in two parts, the screen and then the frame which is added on top of the screen. Not too hard to do and looks quite good.
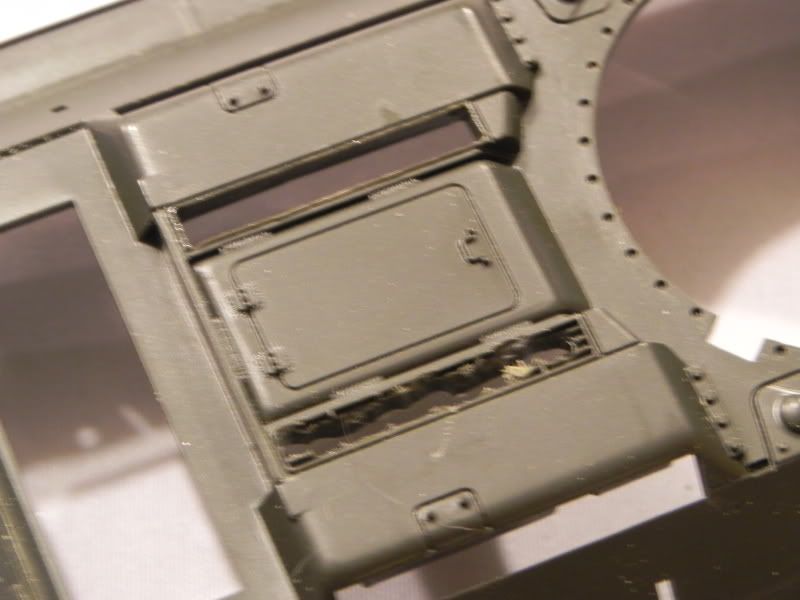
Next up is replacing the top screens on the engine deck. These too are molded solid in the kit, and again the Dremel was used to remove this area and then files used to bring the opening to size and square it up. The opening at the top of the photo is done and ready for the etched replacement, while the one below that is just roughed out with the Dremel and needs to be finished off with the file.
Ernie

