Adler Kfz. 13 ~ Bronco Models

Re: Adler Kfz. 13 ~ Bronco Models

Postby Jamie Tainton » Mon Sep 06, 2010 3:17 pm

So at this point the PE metal mud flaps needed to be added to the front fenders. Let me tell you this has been a real pain in the ass to get right!
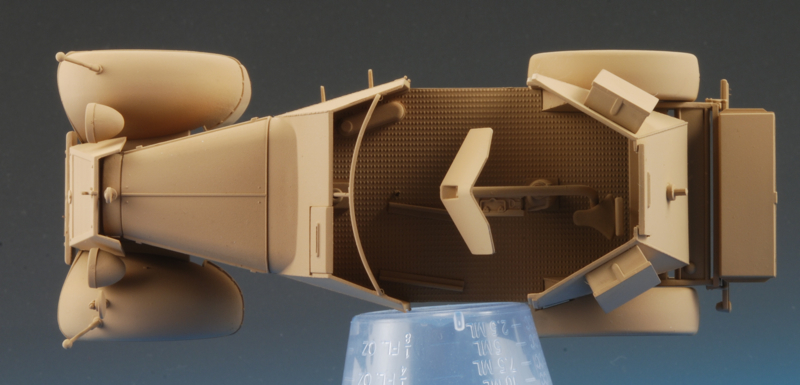
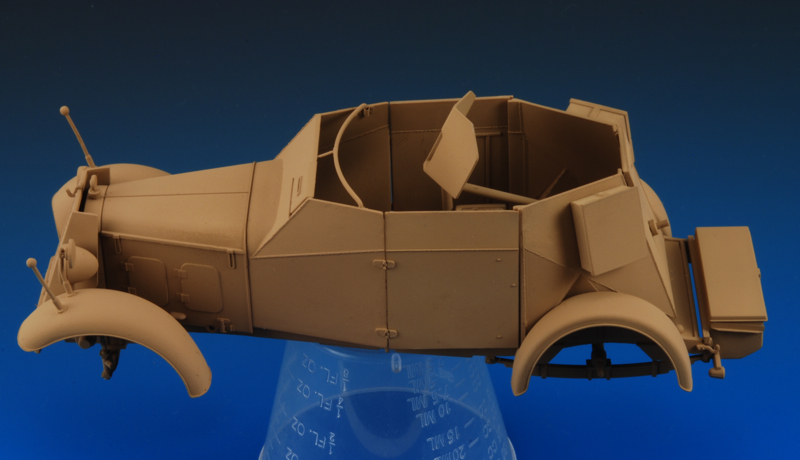
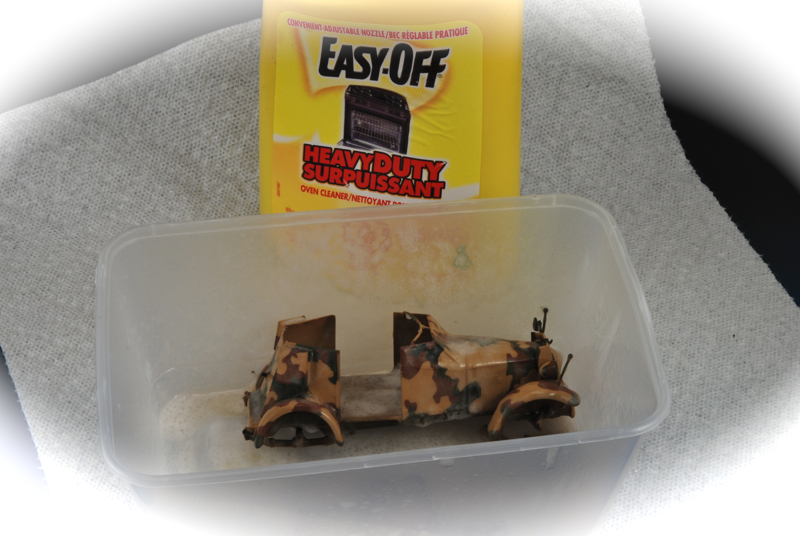
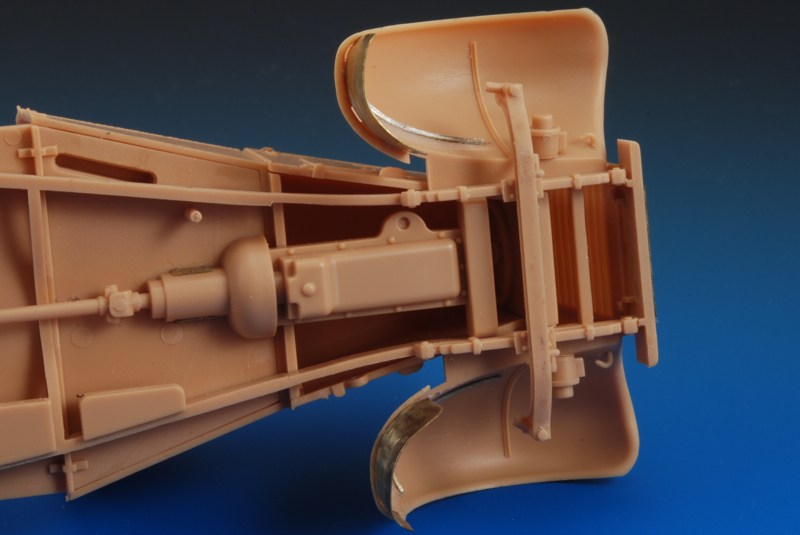
First off the PE flaps are not that easy to form, even after thoroughly heating and annealing the parts! Too bad they were not pre-formed or made in plastic. The placement is also problematic as there is no real attachment point, you need to carefully study the instructions and actual photographs to get it right. Also the fender plastic is a bit thick so after a few attempts I thinned the rear part of the fender to get a more authentic look to the arrangement.
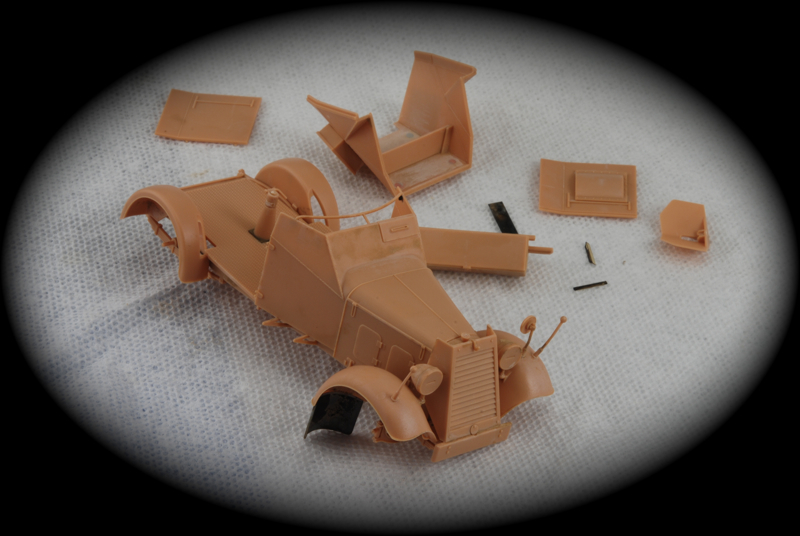
In this pic you can see the flap glued in place on the top one and the lower one has the thinned down plastic fender
Image

Image

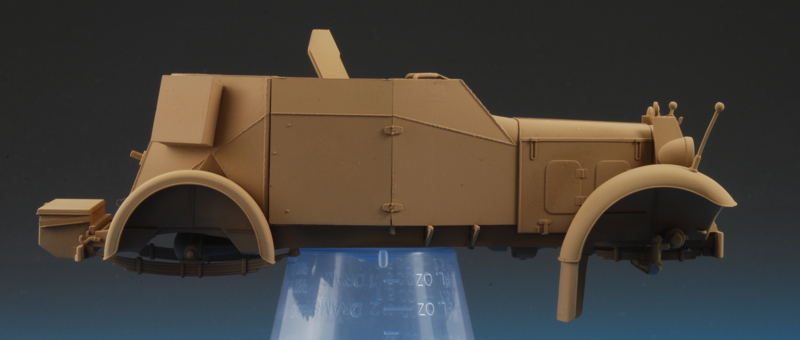
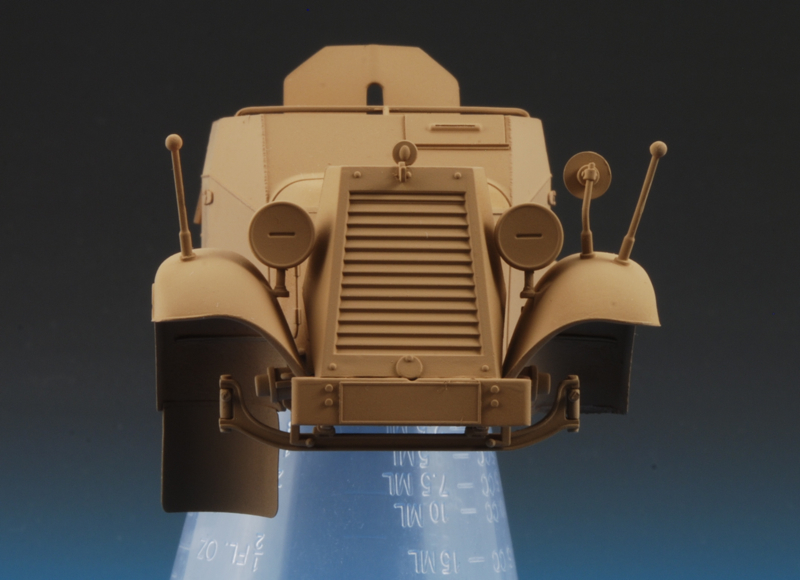
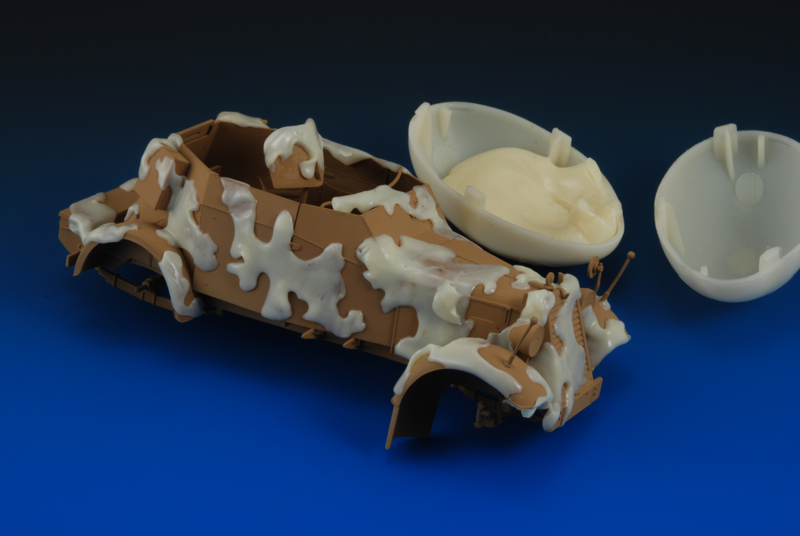
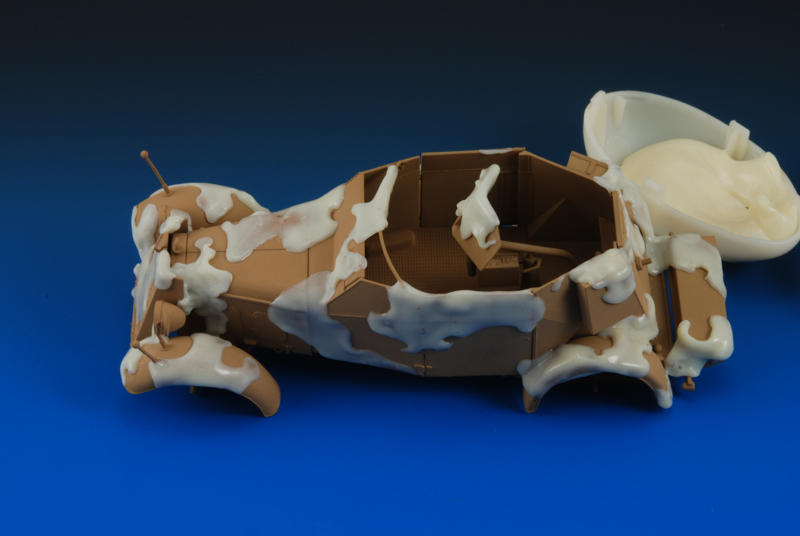
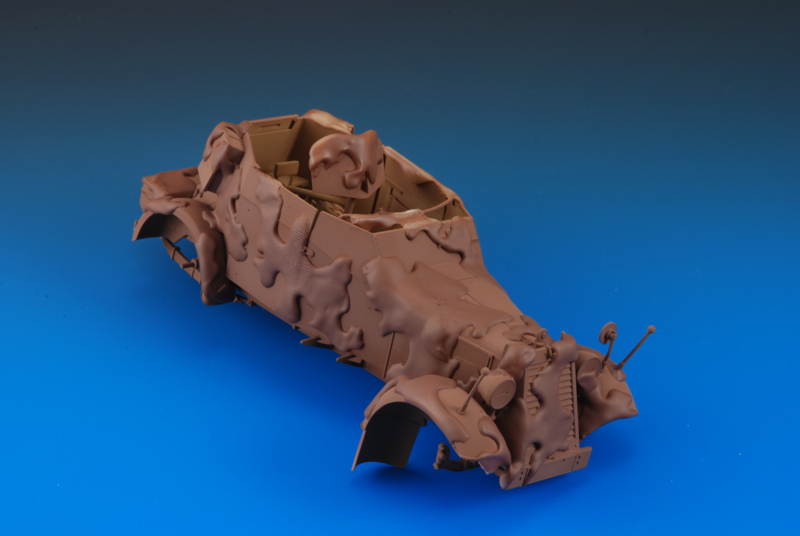
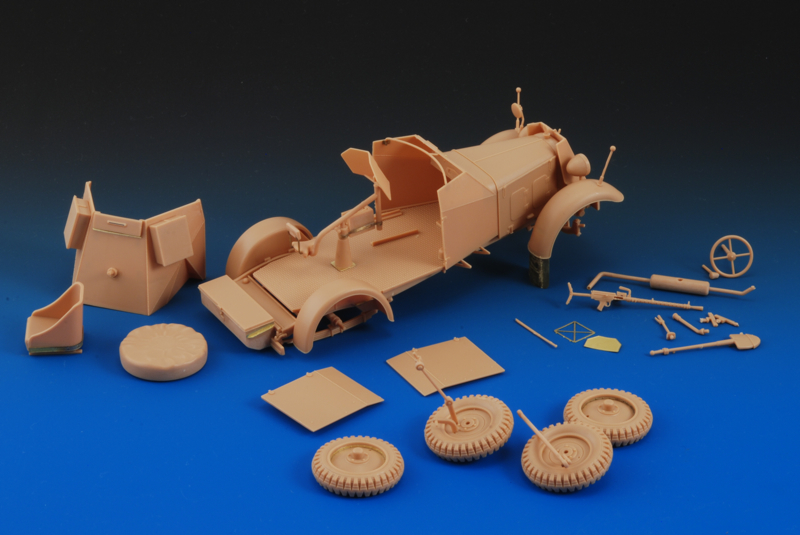
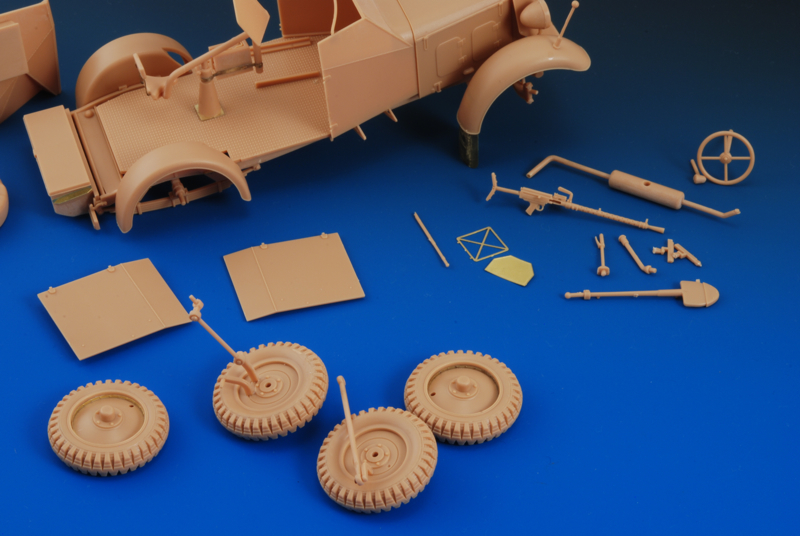
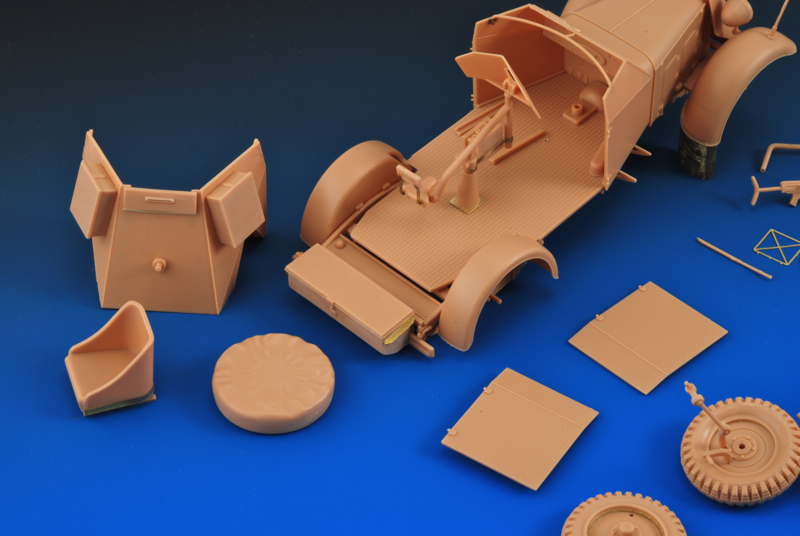
I have pulled together all the last separate bits like the lights, distance poles etc. All the sub assemblies ready to be painted.
Image

Image

Image

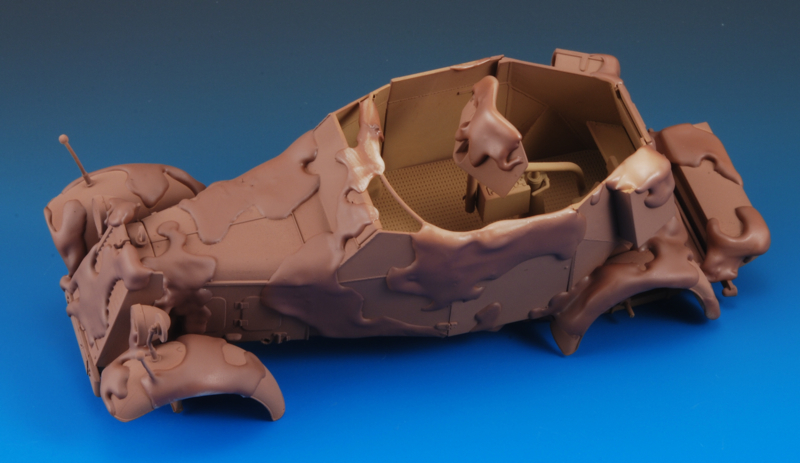
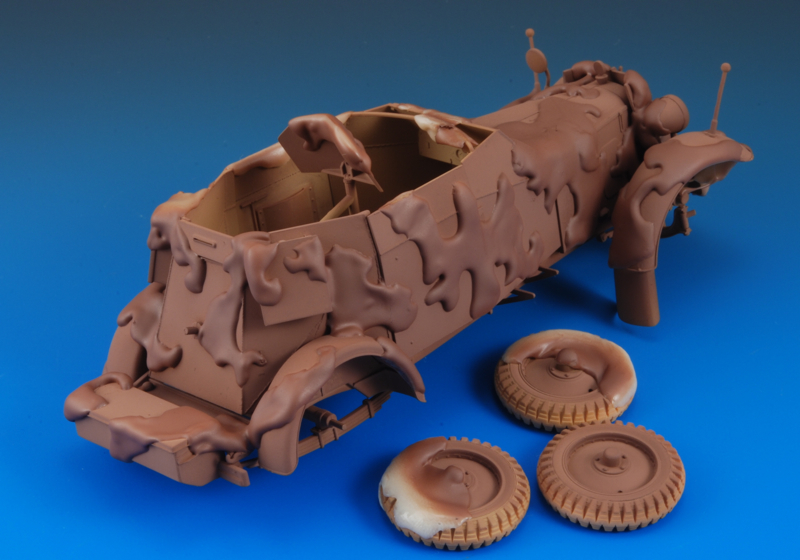
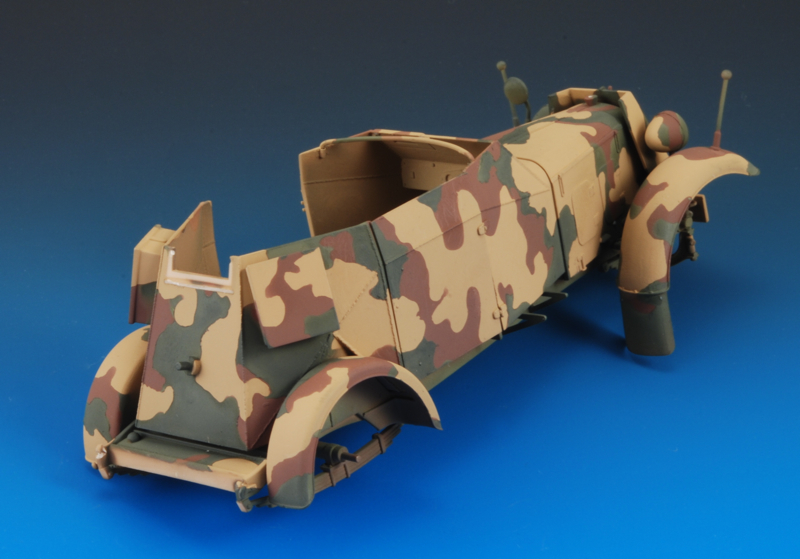
I decided to prime the parts with an earth colour Humbrol #29.
Image

Image


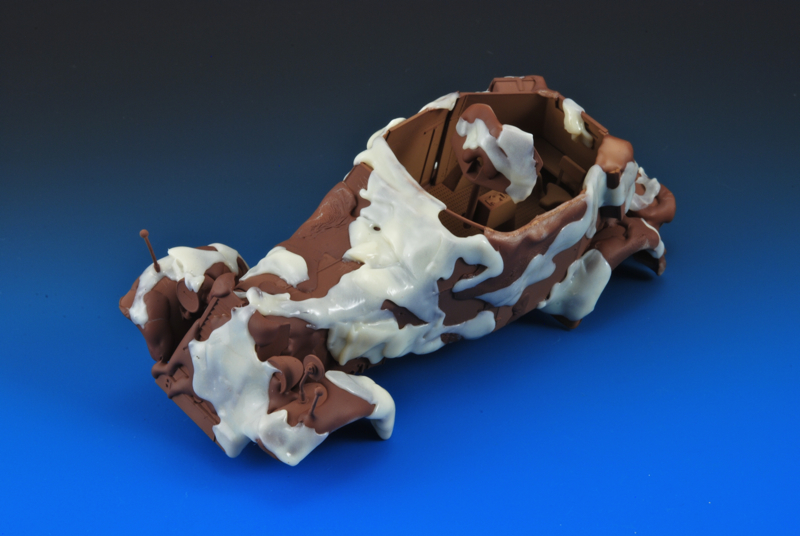
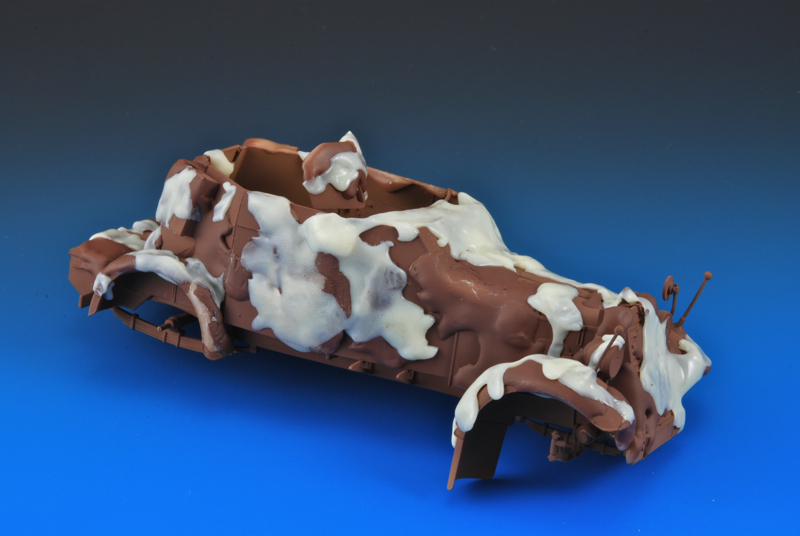
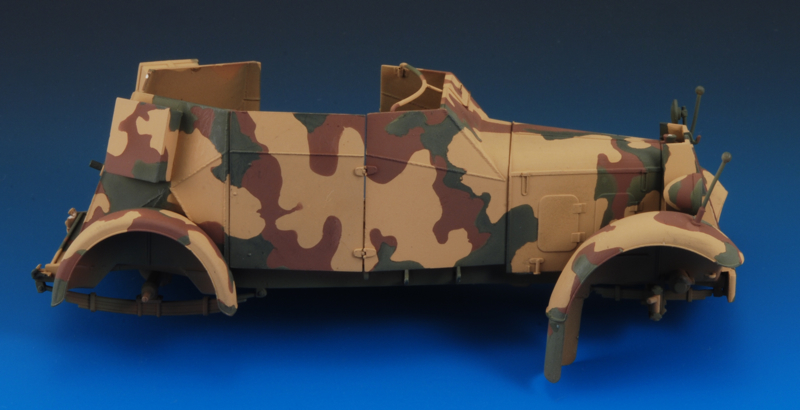
I will be doing the 1927 to early 1938 Buntfarbenastrich camouflage scheme.

http://www.miniatures.de/colour-ral-farben.html
"Don't believe everything you think"
User avatar
Jamie Tainton
Site Admin
 
Posts: 2094
Joined: Wed Aug 19, 2009 1:01 pm
Location: Vancover BC Canada

Re: Adler Kfz. 13 ~ Bronco Models

Postby Dan Reed » Mon Sep 06, 2010 4:53 pm

James,
Have you used silly putty for hard edge masking?
Great stuff-sticks easily, but low tack and cheap!
Thanks for the RAL link.
Dan
Dan Reed
 
Posts: 271
Joined: Sun Dec 20, 2009 10:54 pm
Location: Buffalo, MN

Re: Adler Kfz. 13 ~ Bronco Models

Postby Tim Coulson » Tue Sep 07, 2010 6:53 am

Looking good Jamie. thumb6

Tim
Tim Coulson
 
Posts: 428
Joined: Sun Feb 14, 2010 6:02 am
Location: Denmark

Re: Adler Kfz. 13 ~ Bronco Models

Postby Jamie Tainton » Sun Sep 12, 2010 9:03 pm

Thanks for looking in fellas!
As Dan says perhaps one of the best ways of doing these type of organic shaped camouflage schemes is to use something like Silly Putty.
I bought some around 14 years ago and have had it sitting around for all these years just to do that!
My first job is to paint the lightest colour first and then add the darker ones next.
I made my yellow as suggested in that link above with a combination 186+94, Humbrol colours, to make the Erdgelb Nr. 17. This needs to dry thoroughly before adding the Silly Putty.
Image

Image

Image

Image

Image

Here you can see I have applied the Silly Putty to the earth yellow colour to preserve it before spraying with Humbrol 130 which I chose to represent Braun Nr. 18.
Image

Image

Image

Image

Image

I'll let this dry for a few days and then do the green colour. I will also be doing the inside as in one photo you can clearly see that this was done on the interior as well!
"Don't believe everything you think"
User avatar
Jamie Tainton
Site Admin
 
Posts: 2094
Joined: Wed Aug 19, 2009 1:01 pm
Location: Vancover BC Canada

Re: Adler Kfz. 13 ~ Bronco Models

Postby Dan Reed » Sun Sep 12, 2010 9:17 pm

Love the silly putty!
There is even a Chinese clone of it that will do the job, but it will not be much use as a toy, ie: doesn't bounce, make copies, etc. Not sure why you would get it for a kid...
Dan
Dan Reed
 
Posts: 271
Joined: Sun Dec 20, 2009 10:54 pm
Location: Buffalo, MN

Re: Adler Kfz. 13 ~ Bronco Models

Postby Jamie Tainton » Tue Sep 14, 2010 9:14 pm

Just a quick note- pictures will follow in a day or two, but the paint job went okay only disaster! i went too intricate!. When I looked at reference pics after the final green colour went I my heart sank as it became clear that the busyness of my version was not authentic enough for me, no way around it, so I have stripped the model back to the original plastic with some Oven Cleaner and will try again *sigh* fart
"Don't believe everything you think"
User avatar
Jamie Tainton
Site Admin
 
Posts: 2094
Joined: Wed Aug 19, 2009 1:01 pm
Location: Vancover BC Canada

Re: Adler Kfz. 13 ~ Bronco Models

Postby Laurent Moitrot » Tue Sep 14, 2010 10:48 pm

Ouch !
This kind of behaviour reminds me of ... me !
LOL.
There' no way we can cope with this kind of flaws once we know they exist can we ?
Cheers.
Laurent.

My current projects :
- StuG III G "late" (90%)
- StuG III g "Early" (99%)
- Pz IV H. (98%)
- Befehlspanther G "R01" (95%)
- Sherman M4A1 "Early" (99%)
Laurent Moitrot
 
Posts: 229
Joined: Sun Nov 01, 2009 1:58 am
Location: Beautiful (?) France.

Re: Adler Kfz. 13 ~ Bronco Models

Postby Dan Reed » Wed Sep 15, 2010 5:36 am

sorry to hear that! at least you can reuse the silly putty!
Dan
Dan Reed
 
Posts: 271
Joined: Sun Dec 20, 2009 10:54 pm
Location: Buffalo, MN

Re: Adler Kfz. 13 ~ Bronco Models

Postby Markus Lack » Thu Sep 16, 2010 2:05 pm

Bummer about the paint James, but we all know you can still pull this off ;).
Great build buddy! thumb3
Markus Lack
 
Posts: 123
Joined: Fri Aug 21, 2009 12:47 pm
Location: Germersheim, Germany

Re: Adler Kfz. 13 ~ Bronco Models

Postby Jamie Tainton » Thu Sep 16, 2010 8:41 pm

Oh well I think I was so anxious and short of time I kind of rushed into it- my own fault really. O had planned to do a colour sketch before committing to paint but nixed it and jumped in with both feet, to my chagrin! sadface
But fortunately I did not fuck the plastic up or lose anything, (well one small rain gutter PE part for the front vision klap but that is easily replaced with something scratched)
and I am all set to start again. This time I will do a map of what it will be like before I spray any Humbrol!
Actually it was a happy accident because I think I was to quick to paste the centre MG mount and stuff in place. It was in the way and it isn't anymore. I will have better access to paint the ammo box now too.

Here you can see the second layer of Silly Putty over the red.
Image

Image

here is the paint job after stripping the SP
Image

Image

Easy On...Easy Off
Image

Ready to go again!
Image

As you can see in these screen grabs from a Leni Riefenstahl film I have on early Parti Assembly, Tag der Freiheit: Unsere Wehrmacht - (Day of Freedom: Our Armed Forces), the shapes are actually pretty blobby and large-ish
Image
Image
Image
Image
Image
Image
Image
Image
Image
Image

there are more but I have to go do something else now. Bye! :panzer1:
"Don't believe everything you think"
User avatar
Jamie Tainton
Site Admin
 
Posts: 2094
Joined: Wed Aug 19, 2009 1:01 pm
Location: Vancover BC Canada

PreviousNext

Return to Armoured cars and wheeled armoured vehicles

Who is online

Users browsing this forum: No registered users and 1 guest

cron