Too Tired to add text right now- I'll just post some of the latest progress pictures and let them speak for themselves for now.
(Okay what follows is the delayed description of what is in the photographs

)
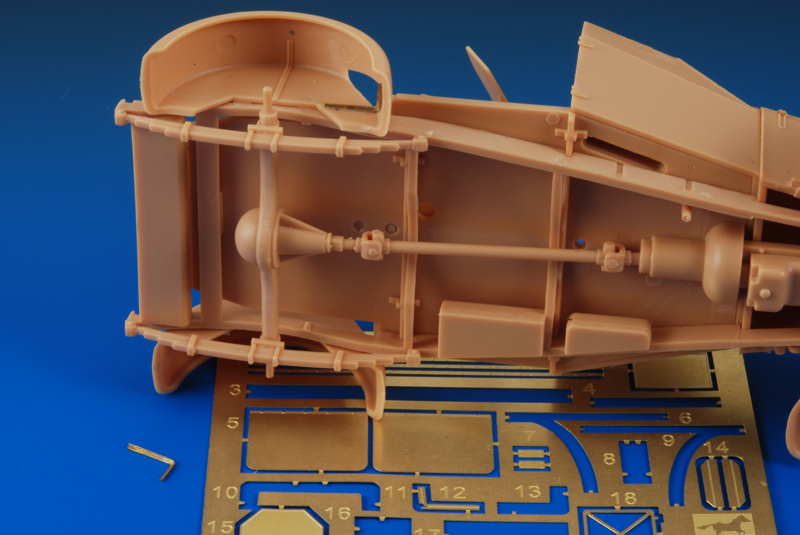
In this shot you can see Part 7 & 9 which are PE parts that when bent form some braces that go on the inside front fenders. I used solder to secure the two faces of the metal once bent 90 degrees.These things are ridiculously small and I would imagine modellers with less experience than I may have some difficulty getting these things folded and in the correct placement. Bronco should have found a better way to provide this detail, whether as a plastic molded detail or a plastic part. The placement of these is not all that clear either and careful examination of the instructions is needed to get it right.

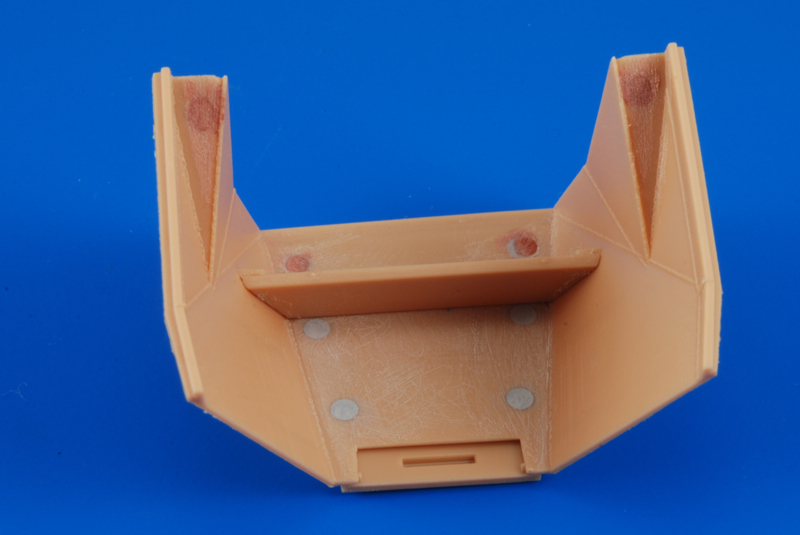
Here you can see the knock out marks filled and sanded back. A good primer of Mr Surfacer should hide this repair.
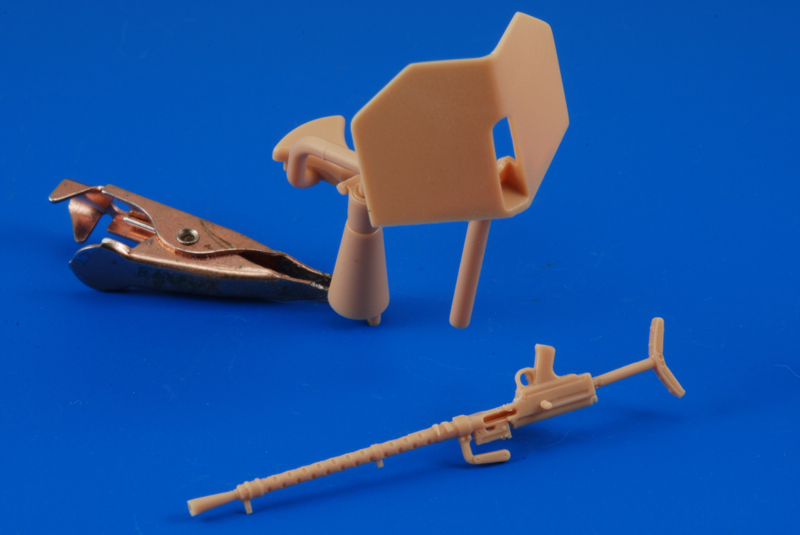
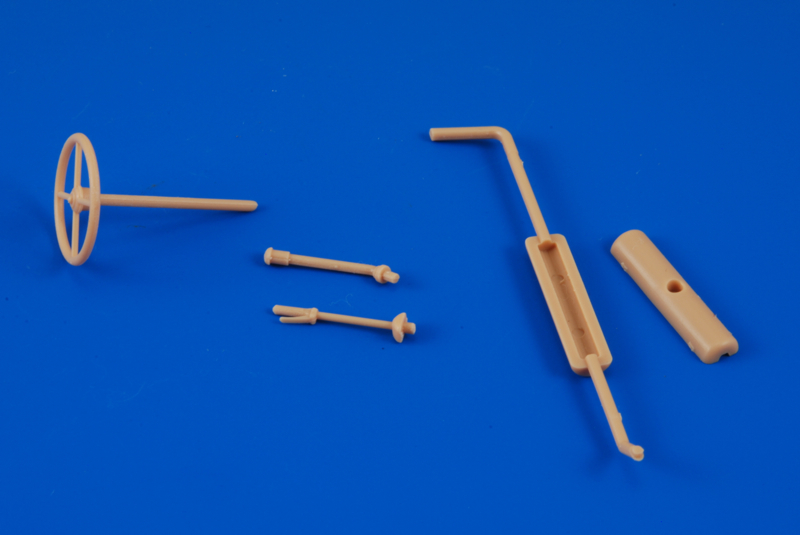
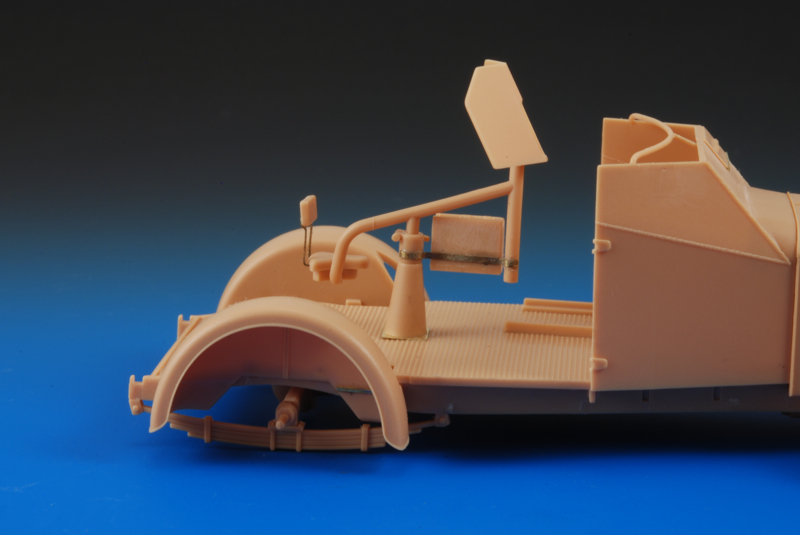
The steering wheel and shaft. As well you can see the two parts of the exhaust system and the pretty nice gear shift and brake lever.
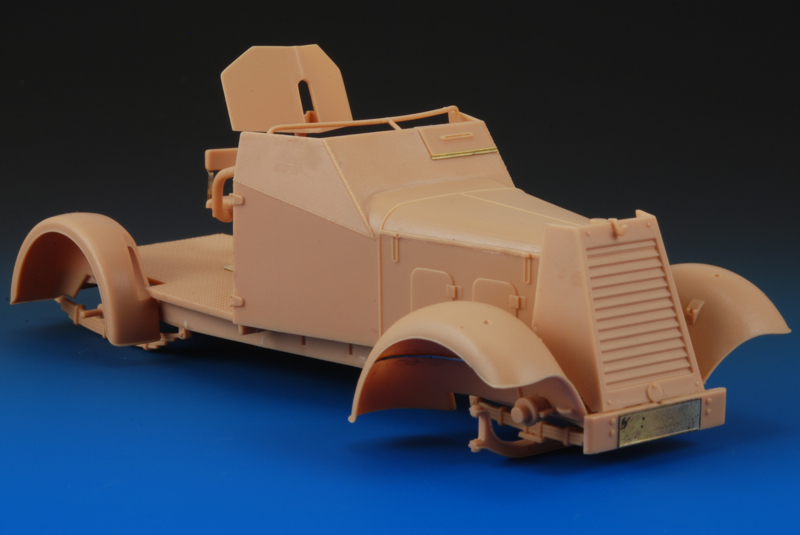
Added in this picture you can see the front licence plate, front drivers klap and PE detail, plus the MG restricting bar is in place.
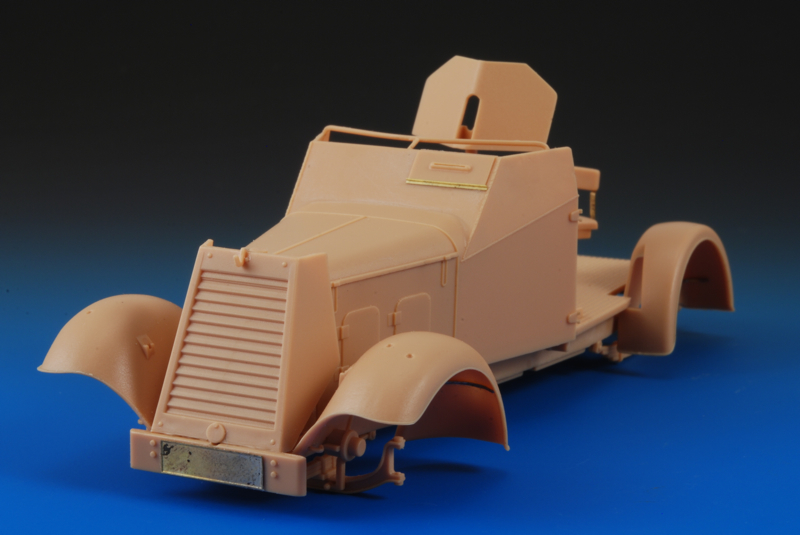
You can see the small hook, mounted to the left of the bolt on the front armour . Other detail parts were added to the front suspension area.

The rear fender also gets the ridiculous tiny PE details, Parts 10, 11, 12, &13. A couple have been glued in place, again without much to aid in placement provided by Bronco, and one un-bent on the PE tree and one ready to be glued in place.If I can say after going this far with this kit, these PE parts by Bronco are the weak point in their engineering of a hobby kit.
The ammo box added to a PE strap
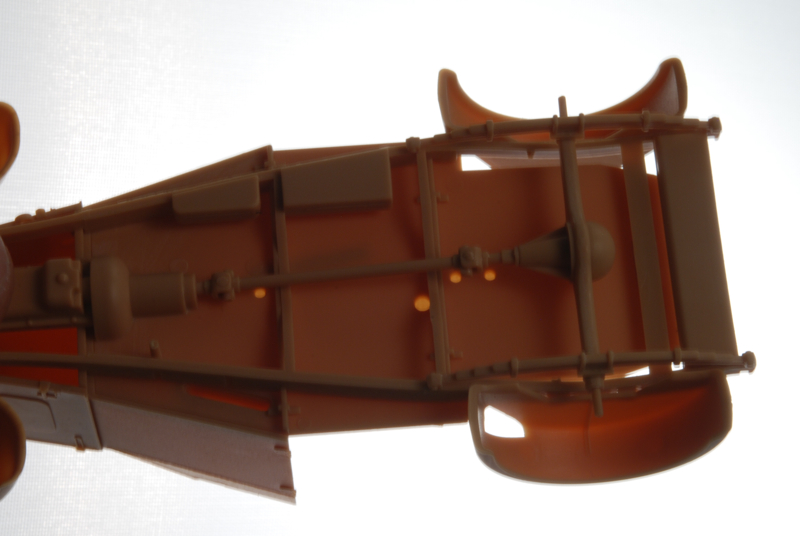
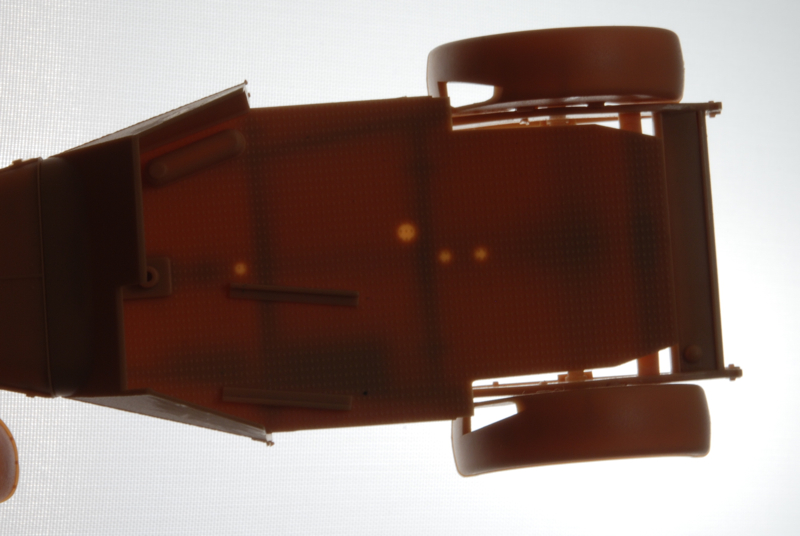
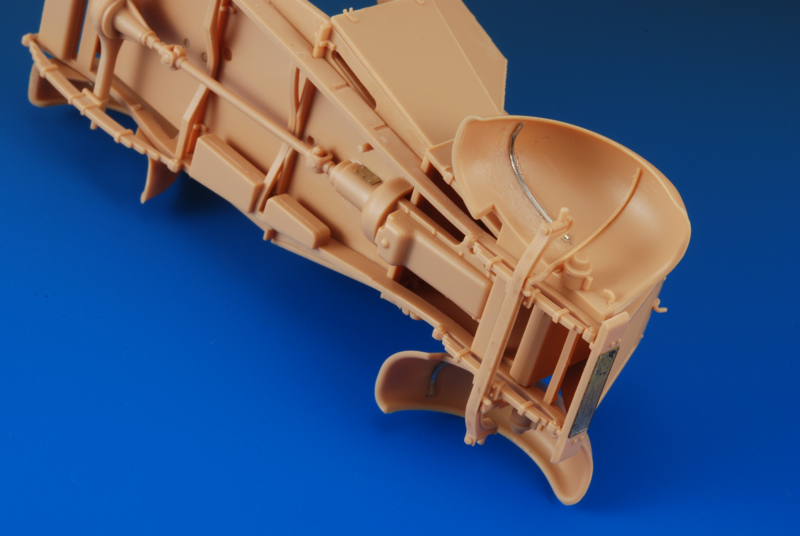
I departed from the kits instructions and tried to get the suspension/steering parts in place so painting access will be optimum. The instructions indicate that this arrangement will be movable, what with flattening pins with heated tools and all, but I don't think they thought the whole thing out as when assembled there is no way that the wheels can be steered. One may as well glue everything in pace and not worry about getting the pins flattened.
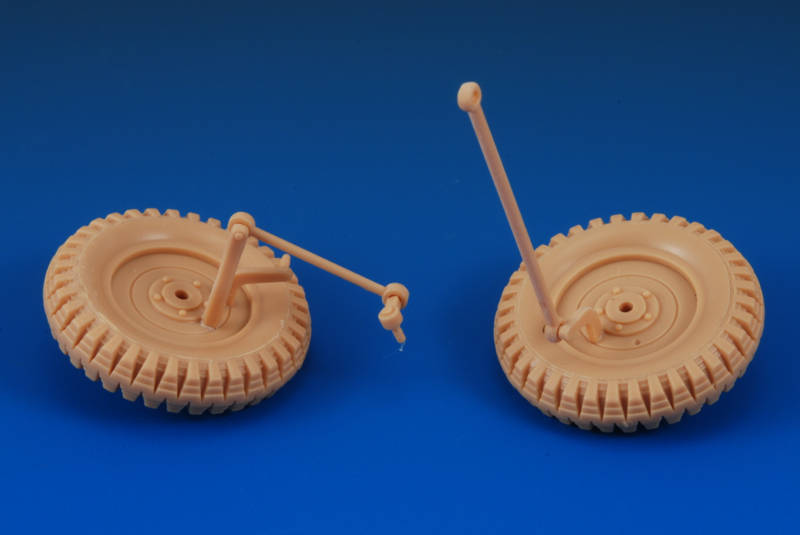
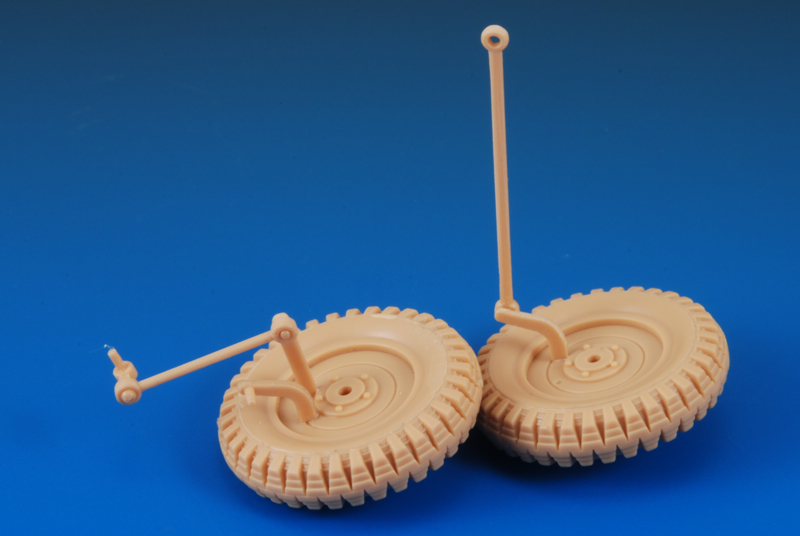
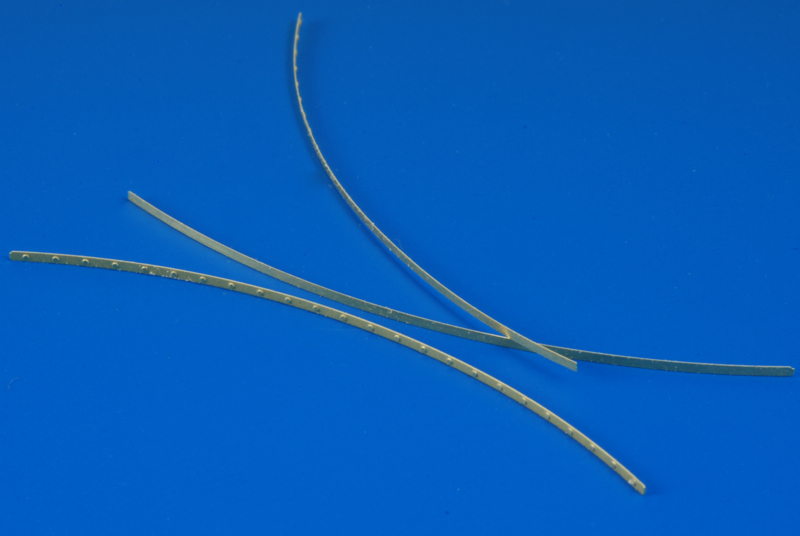
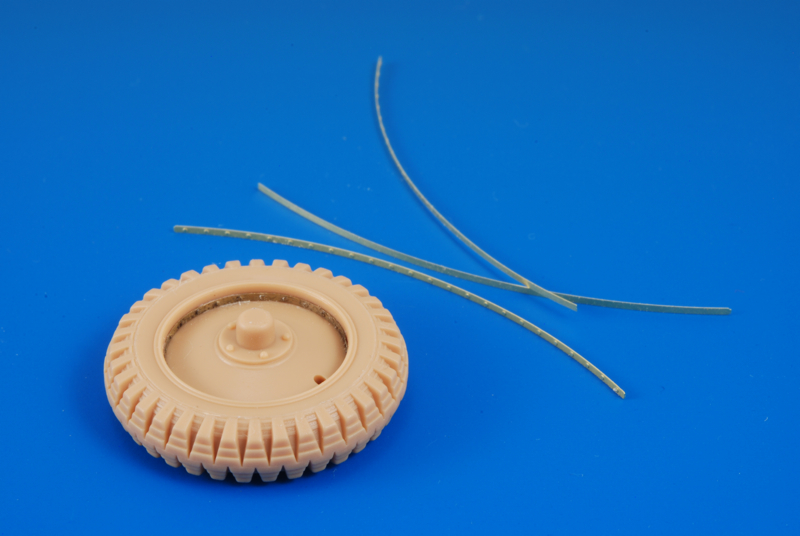
Another irritating thing one must do is add detail to the inside of the wheel rim by taking some tiny PE strips with bolts on them and fitting them into the rim of the wheel. A bit of a pain.
Other separate items ready for attachment