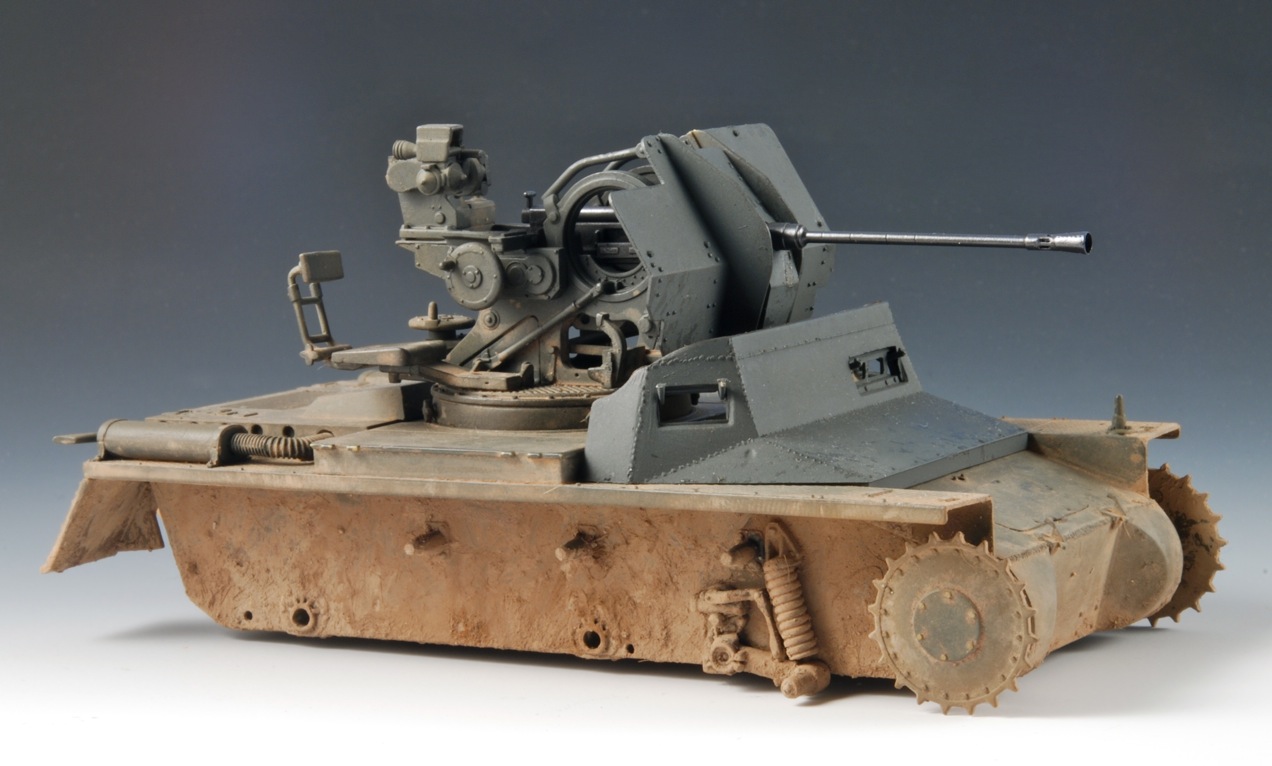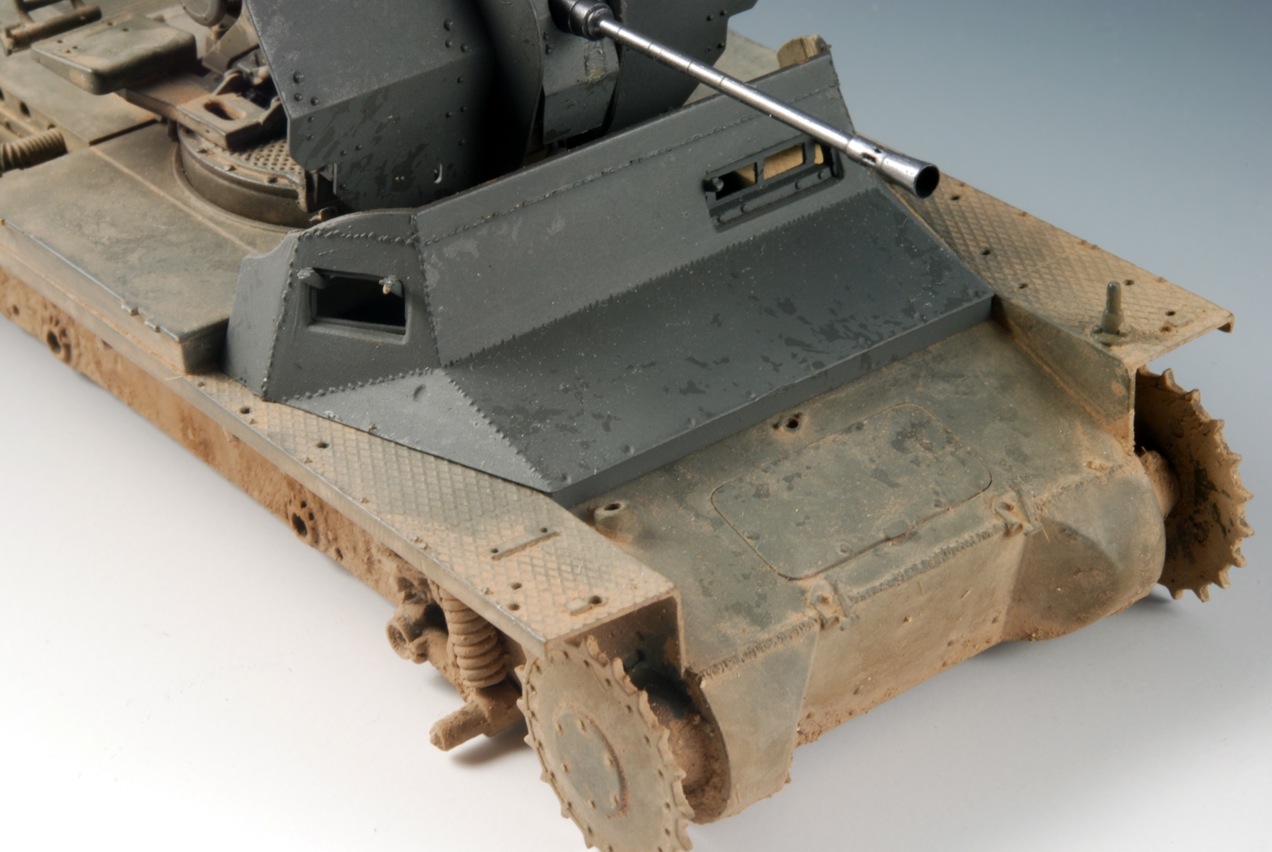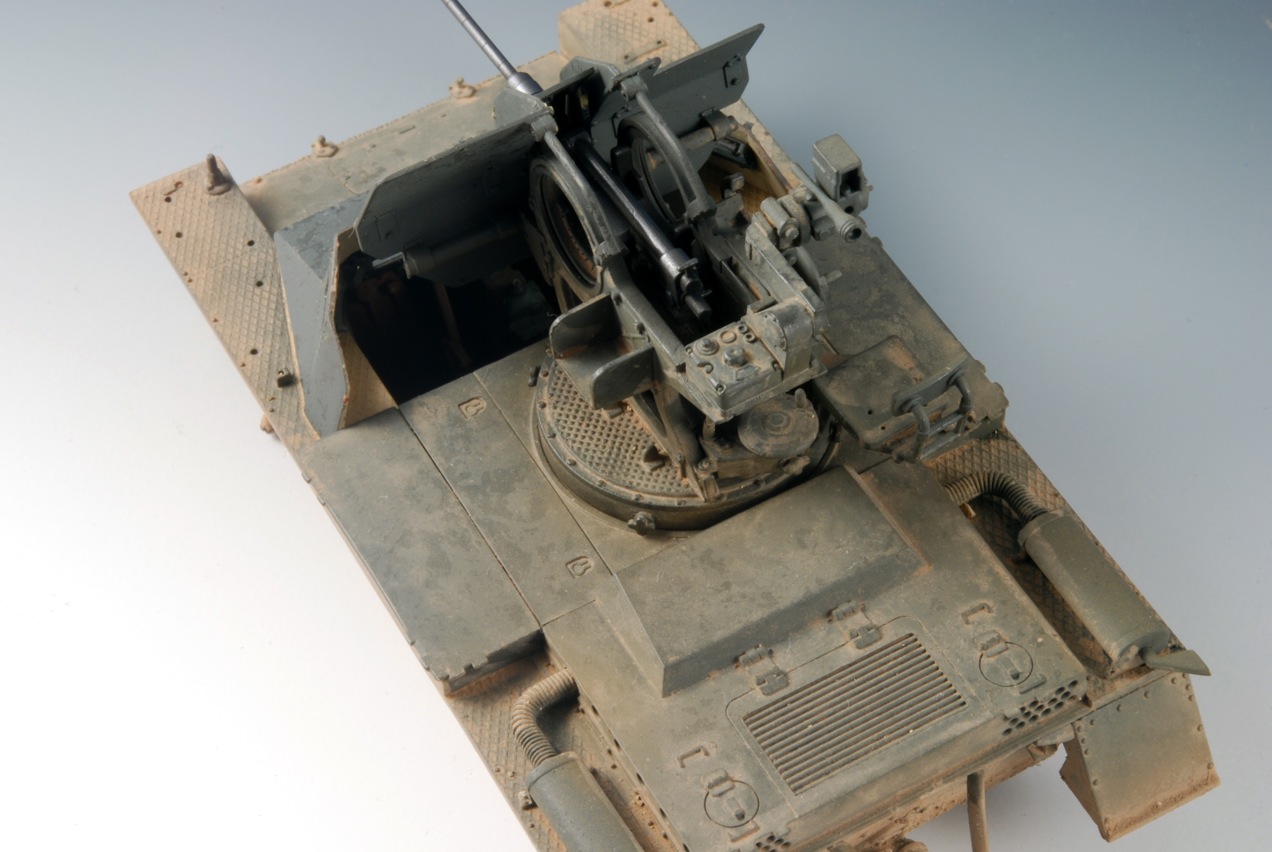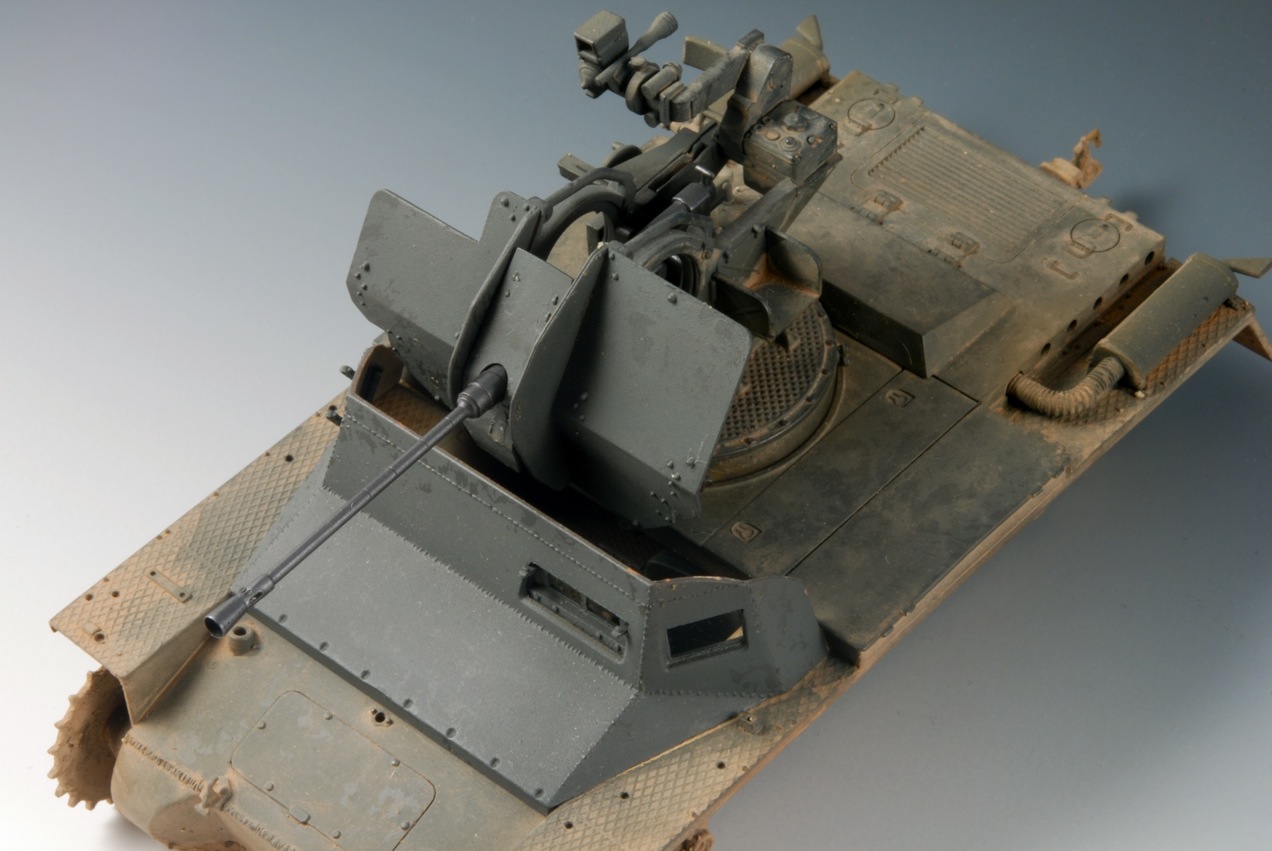
The boxart- wish I could watch this guy in action to steal some of his techniques- I wonder how much time they get!
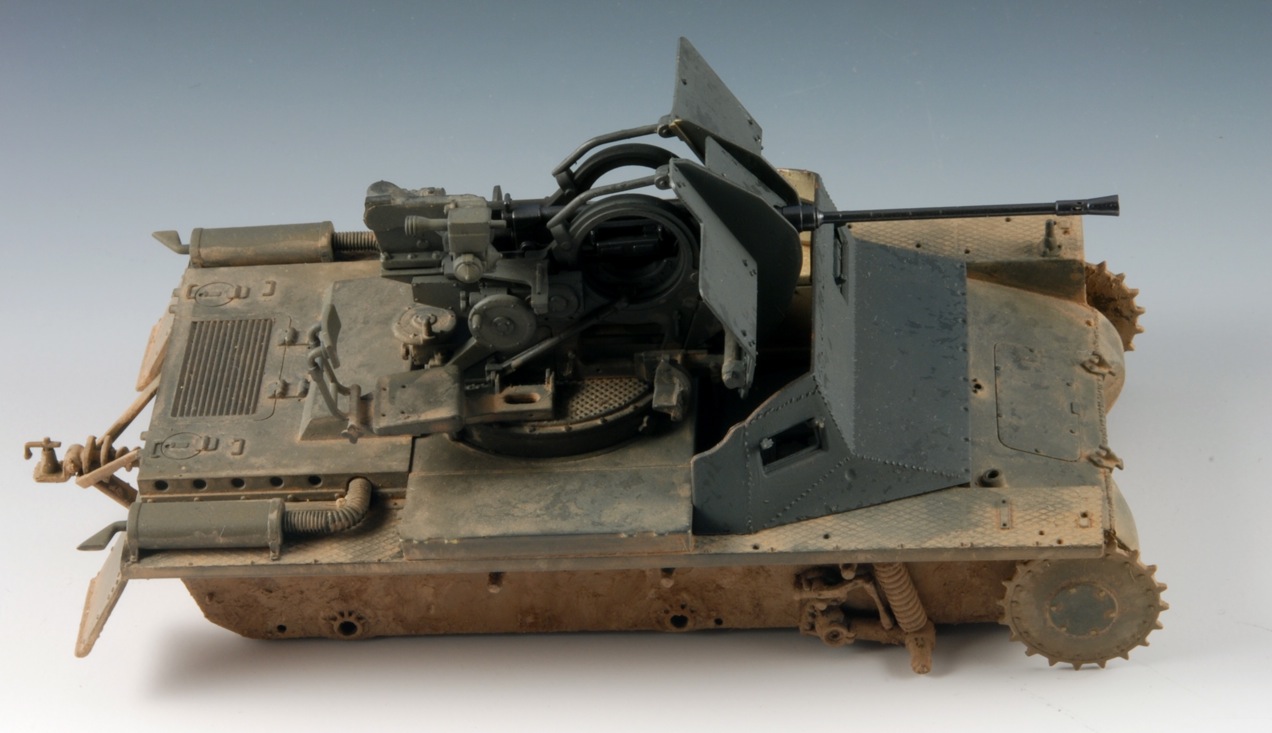
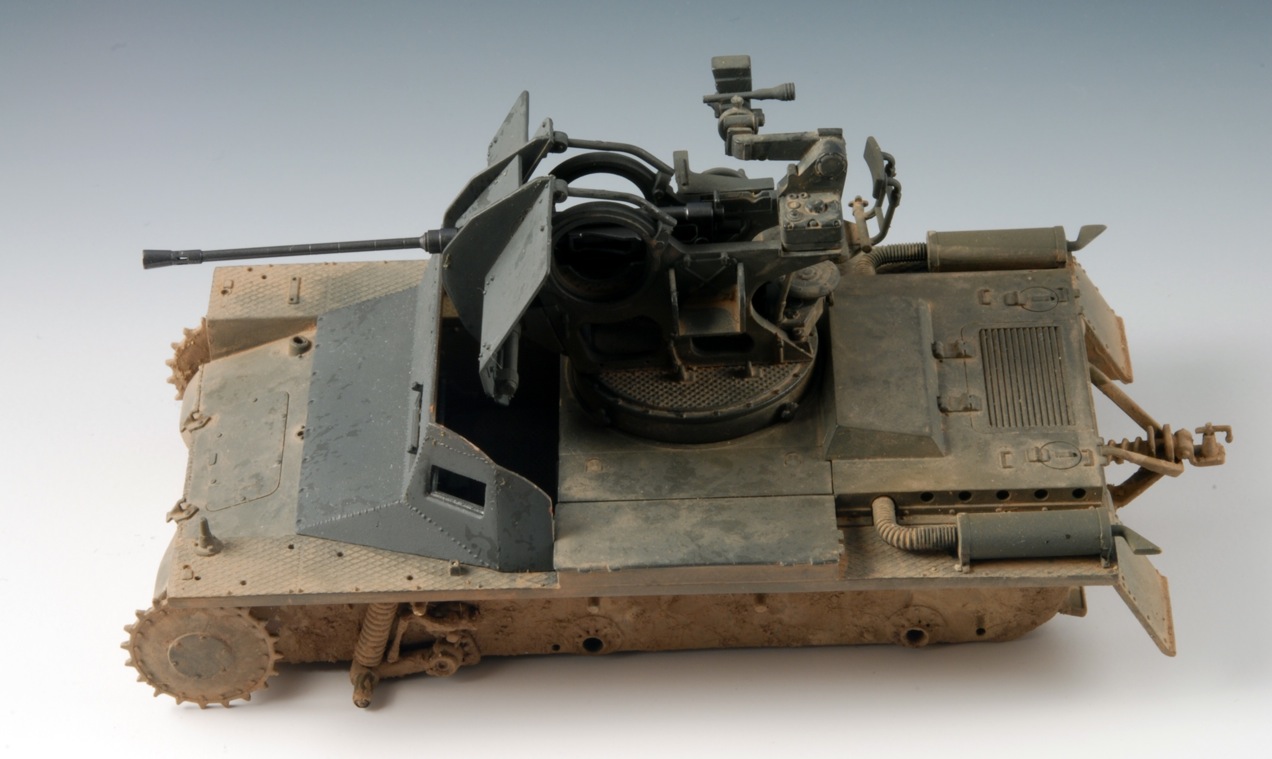
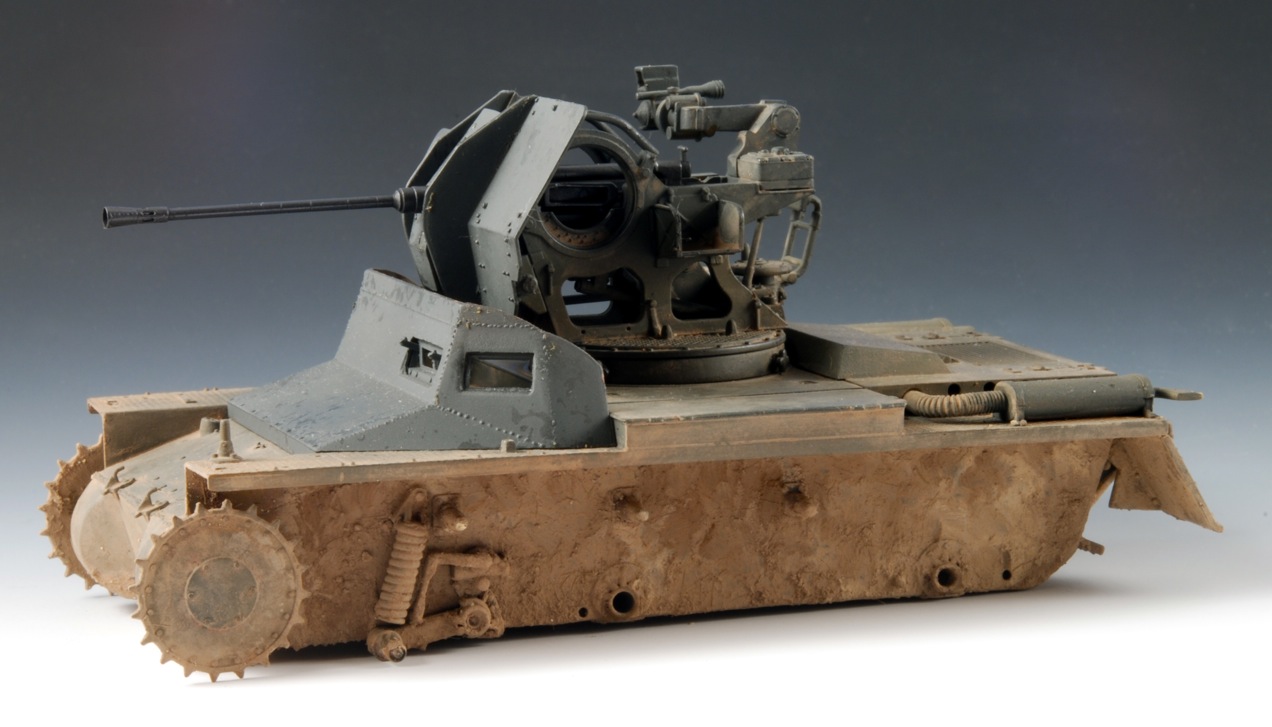
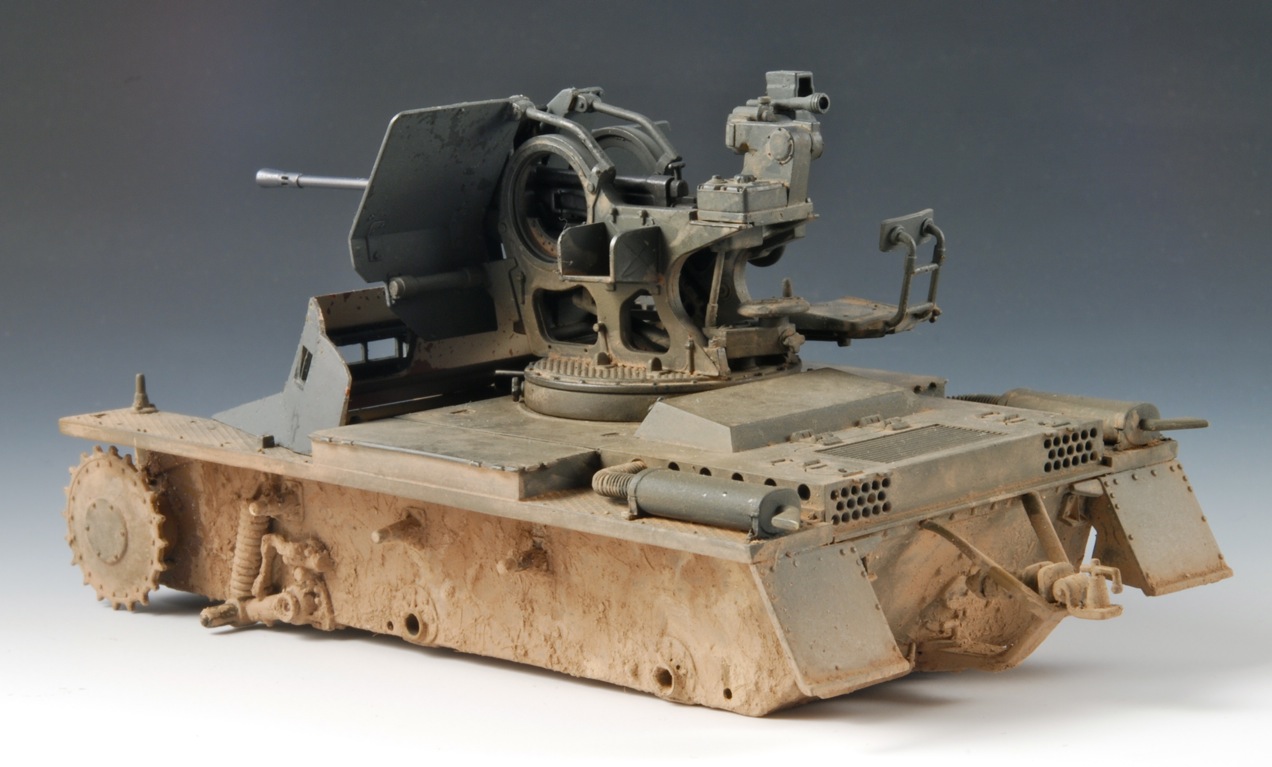
So my love affair with the Panzer I continues- this time I decided to crack the Tristar Panzer IA open, that details a variant incorporating a 2cm Flak 38 gun with a Panzer I/A chassis.
It uses the vintage and now OOP #35003, #35008 Panzer I/A kits as well as the discontinued FlaK38 kit, #35010.
While I was thinking of getting some aftermarket brass for this one I have been on a build out of the box kick for a bit and don't see why I should stop now- my philosophy to build a kit OOTB and see how it goes, learn the lay of the land and then maybe somewhere done the line do one with all the bells and whistles. Like this set from Voyager- albeit for the DML one.

I really liked the Tristar take on Panzer I's - while Dragon's are in a way easier to build I think the Tristar ones have a more accurate look when it comes to the subtler details.
An online review is [url="http://www.perthmilitarymodelling.com/reviews/vehicles/tristar/tri35019.htm"][SIZE="4"][COLOR="RED"]HERE[/COLOR][/SIZE][/url]
The first Step, a pleasant change from the usual dogma of road wheels road wheels and more road wheels, is about getting the Flak gun together
Some of the major parts

One thing that I will upgrade will be the gun barrel as I have several sitting around, and I better use them!

from the above I decided to use the least attractive first on this essentially OOTB so at least it'll get used and not just be a total waste of money:p
According to Terry Ashley at [url="http://www.perthmilitarymodelling.com/reviews/vehicles/flak38/flak38barrels.htm"][SIZE="4"][COLOR="green"]PMMS[/COLOR][/SIZE][/url] the Aber is pretty good but having a flaw in being a bit too long, making it, out of the ones I have, perhaps the best candidate for this upgrade. It will take more work because I have to make the barrel cone myself but I like a challenge, (sometimes):D
Here is the brass barrel next to the Tristar version.


Here I've managed in one go to get the cone right and soldered in place.
I only count seven large holes and I think there is meant to be 8? Oh well the only one's that will know it are you and me...:rolleyes: [SIZE="3"][COLOR="grey"]Somehow this was left out of Terry's review.[/COLOR][/SIZE] The fit is kinda weird for the larger holes- it doesn't quite line up right , but given what I have to work with I think I got the best result possible- Whoo ho!:thumb: I didn't bother with the removal of the 2mm length of the barrel, I just felt the chances for it f-ing up compared to how it looks the way it is precluded me from feeling the necessity to risk it.


Here it is glued in place, after some major surgery on the original plastic part!, looking fairly nice if I do say so myself.


The Tristar parts fit together very well and the engineering is really top notch-


Thanks for the interest and pics. Here are some shots showing the progress.


Some pics comparing the two manufacture's transmissions- the Tristar one is fairy intricate, the Dragon item nothing more than a sad caricature of the real thing.


